How to Connect Reolink Cameras Directly to the PC and Log in via Reolink Client?
Launch the surveillance software on the computer to add the camera and view live view. In our test, we launch Reolink Client. Because the computer and the camera are on the same network, Reolink Client searches for and displays the camera directly. When you click "Start," you will be able to see the camera on your PC. Connect Reolink Cameras Directly to the PC
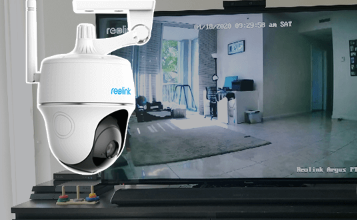
Connect Reolink Cameras Directly to the PC and Log in via Reolink Client
Step 1: Turn on this camera and connect it to your PC using a network cable.
Step 2: Launch Reolink Client and navigate to Add Device > Scan Device In LAN to discover your camera's IP address.
Step 3: Connect your computer's IP address to the same network segment as your camera.
Step 4: To access the Network and Sharing Center, go to Start > Control Panel > Network and Sharing Center.
Change Adapter Settings by Clicking the Button.
Select Properties from the context menu when you right-click on Local Area Connection.
After selecting Internet Backbone Version 4 (TCP/IPv4), click Properties.
Select Enter the IP address, and Subnet Mask, and then click OK to close the Local Area Connection 2 properties window.
Notes:
- The IP address, for example, if the camera's IP address is 192.168.177.105, set the IP address to 192.168.177.X. X is the figure you chose, which should not be the same as the camera.
- The IP address is 255.255.255.0.
After connecting your cameras directly to your PC, you can now access Reolink cameras without the use of a router. You can access the cameras using Reolink Client. If you can connect to this camera via your PC client, please set a static IP address for it in case the IP address shifts the next time you connect.
 Published by: Blaze
- Brand: Smart Devices
- Last Update: 2 months ago
 Related Blogs
How to Use Google Lens on iPhone?
Top 7 Best Smart Home Security Systems of 2025
How to Connect Philips Hue Devices?