How to Fix HyperX Cloud 2 Mic Not Working?
Is Your HyperX Cloud 2 mic not working? If yes, then worry not as we are available with various solutions that can help you fix your problem. A lot of users encountered this problem when they were using their headsets for the first time.
This can be quite annoying as the sole purpose of buying the headset was to communicate with people using it. However, there is nothing to worry about as we won't let this investment of yours go to waste.
Solution 1: Try Basic Troubleshooting
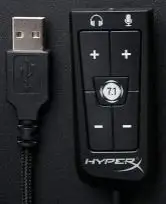
There is a chance that the mic on your headset is on mute and not properly connected. Therefore, you must check the headset connection and mute setting. In case you are using the USB switcher, then you must ensure that the switcher is not activated.
Another thing you need to make sure of is that all the connectors are seated properly. If you find that there is no issue with the connectors, then you must try to connect the cable to some other port. Also, you can use the 3.5 mm audio jack rather than using a USB.
This should make the mic work. If it doesn't, then move on to the next solution.
Solution 2: Check Sound settings
Your mic may not work because your headset hasn't been selected as the default audio device on your PC or is disabled. To enable your device,
Below are the steps that you need to follow.
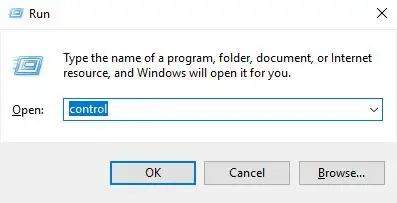
Step 1: Press the Windows key and R key simultaneously on your keyboard. This will open up the Run dialog box before you. After that, you must type "control" and then press the Enter key.
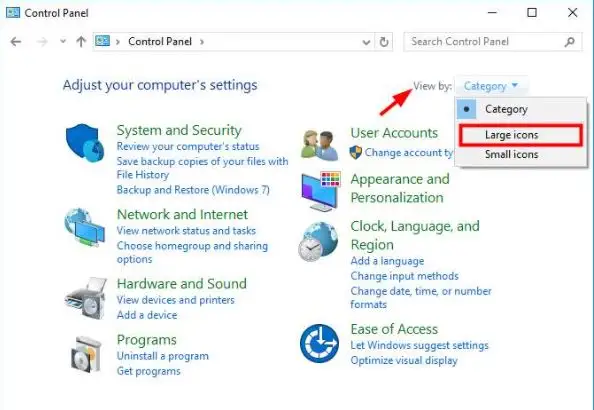
Step 2: Now, open the Control Panel and then click on Large Icons by going to the drop-down menu of View by.
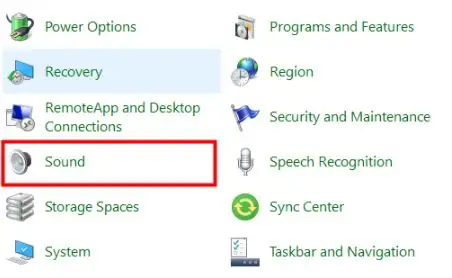
Step 3: Click on Sound.
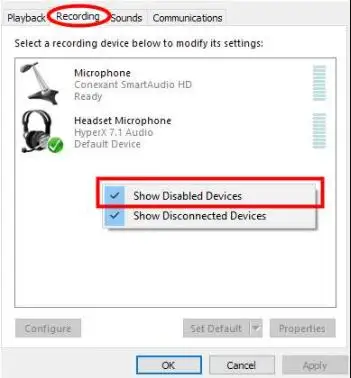
Step 4: Now, go to the Recording tab and then click on it. After that, go to the device list and click on empty space. Then, check Show Disabled Devices.
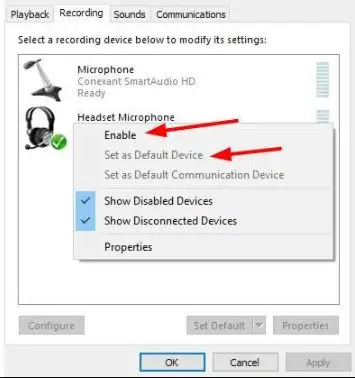
Step 5: Go to Headset Microphone and right-click on it. Then, you need to click on the option of Enable. After that, select the option of Set as Default Device.
After performing all these steps, your microphone will get enabled. This will surely fix your problem of the HyperX Cloud 2 mic not working.
Solution 3: Update the Driver of Your Headset
Sometimes the headset doesn't work because of the outdated drivers. Therefore, in order to fix this problem, you need to update the driver. There are 2 ways to update the drivers. You can either update it manually or automatically.
The manual process is risky, technical, and time-consuming. You must not go for this method if you don't have good technical knowledge. However, it is easy to update the driver automatically.
Below are the steps that you must follow to update the drivers automatically.
Step 1: Download third-party software to update the driver automatically.
Step 2: Run the software you just downloaded and then select the button of Scan Now. The software will run a scan on your system and diagnose issues.
Step 3: Now, click on the button of Update given close to the headset for downloading the right and latest drivers. If you want, you can also click on the button of Update All to update all the missing and outdated drivers on your PC.
 Published by: Blaze
- Brand: Smart Devices
- Last Update: 2 months ago
 Related Blogs
How to Use Google Lens on iPhone?
Top 7 Best Smart Home Security Systems of 2025
How to Connect Philips Hue Devices?