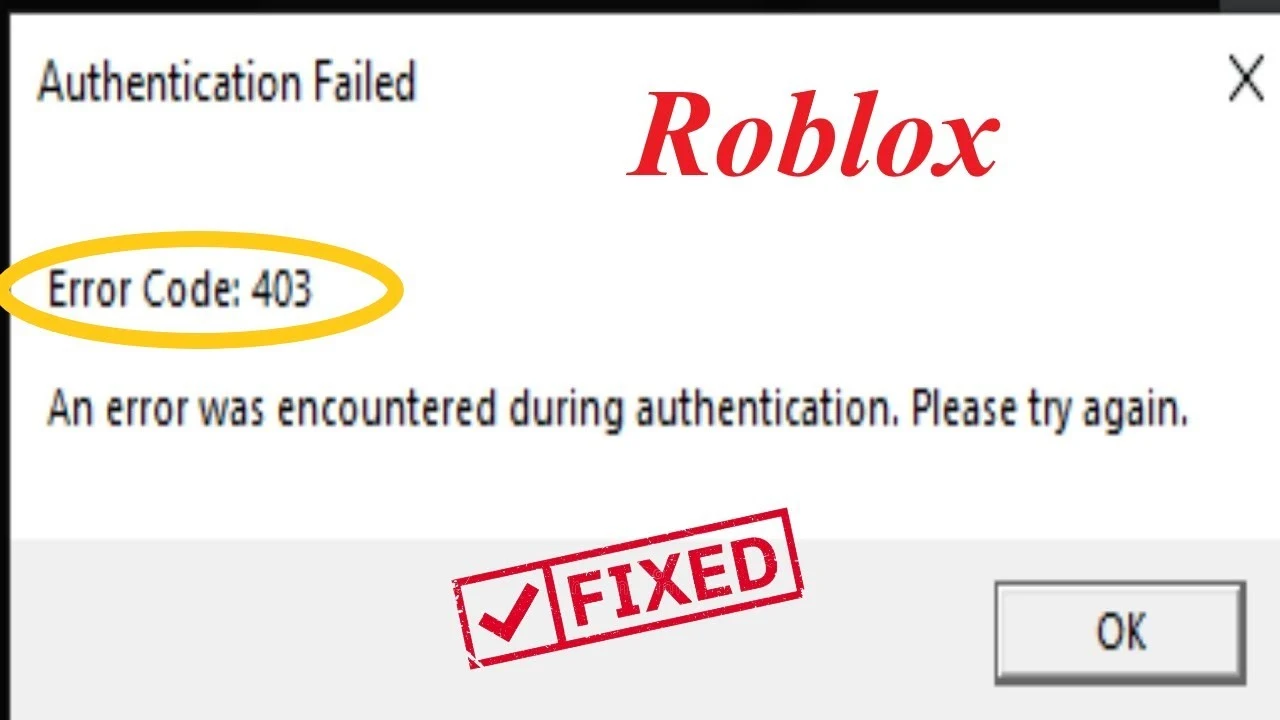
How to Fix Roblox Error Code 403?
“Roblox Error Code 403” is definitely an issue that most of us encounter while attempting to play our favorite game on Roblox which can easily be fixed by resorting to either of the ways enshrined in this elaborately drafted user guide. So, just feel free to draw reference from this quick guide whenever you wish to fix the “Roblox Error Code 403” issue.
1 - Determining The Service Status from Roblox Server Status Page
Roblox as we all understand is a multiplayer game that may undergo scheduled maintenance to provide the best gaming experience. This activity of scheduled maintenance may ultimately be serving as the prime cause of the “Roblox Error Code 403” to come flashing on your screen. You should check whether there is any such planned maintenance activity being taken by Roblox and if you get a confirmation in this regard then you must patiently wait for the restoration of gaming services going forward.

2 - Formatting Down The Roblox Cache Folder
Like most other online platforms Roblox also stores Cache data to provide faster access which may pan out in a negative way when any virus cracks down your system ultimately leading to the issue of “Roblox Error Code 403”.
Step 1 - You can press the “Windows+X” keys followed by opening the “Run” application from the Power Menu. Or, you can also press the “Windows+R” keys to open the “Run” dialog box.
Step 2 - Now continue typing “%localappdata%” and click on the “OK” button to open the local folder wherein Cache data is stored.
Step 3 - Search and open the “Roblox” folder and jointly press the “Shift+Delete” buttons to delete the Roblex Cache files data permanently.
3 - Disabling Active VPNs Might Also Help
If you have initialized and set up a VPN through Windows then just adhere to the process mentioned underneath to fix the “Roblox Error Code 403”.
Step 1 - Primarily launch the “Settings” panel followed by opting to click on the “Network & Internet” option.
Step 2 - Just go on to select the VPN that you are currently using and subsequently disable the Active VPN.
4 - Opt To Execute an SFC
You can go ahead to fix the “Roblox Error Code 403” by executing the “System File Checker” (SFC) scan that would quite conveniently scan for missing or corrupt files and would probably replace them if the situation warrants.
Step 1 - Just begin by launching the “Start” menu by pressing the “Windows” key.
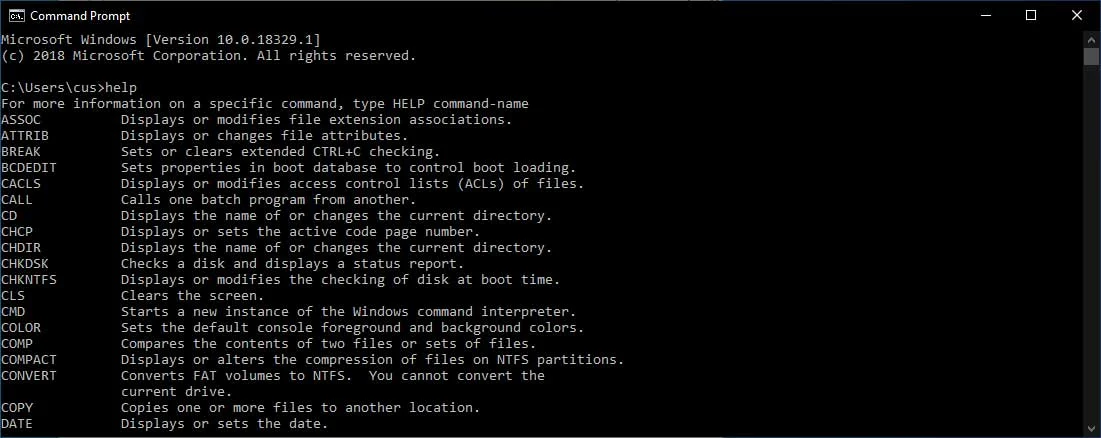
Step 2 - Now continue to punch in “Command Prompt” in the search bar and move ahead by running the same as Administrator.

Step 3 - Please remember that you will have to click on “Yes” if UAC pops up.
Step 4 - Now punch in "sfc /scannow" in your Command Prompt Window followed by pressing the “Enter” key.
Step 5 - Finally wait patiently until the scan is complete.
5 - DISM Scan Can also Be Facilitated
Especially in the context of fixing the “Roblox Error Code 403” if you have not been able to successfully run the SFC scan or if the SFC scan hasn’t worked then, you may also run a Deployment Image Servicing and Management (DISM) command line tool scan in the following way.
Step 1 - Simply open Command Prompt with admin rights.
Step 2 - Now continue by typing in the following command and press the Enter button and wait for the DISM scan to get accomplished.
DISM /Online /Cleanup-Image /ScanHealth
Dism.exe /online /cleanup-image /restore health
6 - Preferably Switch to Google DNS
Step 1 - Just initiate by opening the “Power Menu” followed by choosing “Network Connections”.
Step 2 - Now choose the “Advanced Network Settings” option followed by expanding the Wi-Fi option. Thereafter, click on “Edit” just adjacent to the “More Adapter” options.
Step 3 - Now you have to choose the “Properties” button after highlighting the option named “Internet Protocol Version 4” (TCP/IPv4).
Step 4 - At this stage, you must type in “8.8.8.8” in the preferred DNS Server field. Also, you must ensure that you have entered “8.8.4.4” in the Alternate DNS Server box.
Step 5 - Just continue to click “OK” for saving the settings.
Step 6 - Now again you have to select “Properties” after you have highlighted the “Internet Protocol Version 6 (TCP/IPv6) option.
Step 7 - Continue by typing in “2001:4860:4860::8888” in the preferred DNS Server field followed by entering “2001:4860:4860::8844” in the Alternate DNS Server box.
Step 8 - Finally, click “OK” to save the IPv6 settings.
 Published by: Blaze
 Brand: Smart Devices
 Last Update: 3 months ago
 Related Blogs
Top 11 Best Smart Home Devices & Systems of 2025
How to Use Google Lens on iPhone?
Top 7 Best Smart Home Security Systems of 2025
How to Connect Philips Hue Devices?

Trending Searches
-
Google Nest Mini vs. Amazon Echo Dot 2025 25 Jul, 24
-
How to Reset Honeywell Thermostat WiFi? 07 Mar, 24
-
How to Watch StreamEast on FireStick? 05 Nov, 24
-
How do I Connect My Nest Yale Lock to Alexa? 06 Apr, 24
-
Alexa Lights Unresponsive? Fix it 03 Dec, 24
-
Why Does My Nest Thermostat Say Delayed? 20 Oct, 24
-
How to Uninstall an August Smart Lock? 09 Apr, 24

Recent Post
-
How to Install Kodi on Amazon Fire Stick? 18 Dec, 24
-
How to Connect Govee Lights to Alexa? 17 Dec, 24
-
How to Connect Kasa Camera to WiFi? 17 Dec, 24
-
How to Fix Eero Blinking White Problem? 16 Dec, 24
-
How to Reset Eero? 16 Dec, 24
-
Why is My ADT Camera Not Working? 15 Dec, 24
-
How to Connect Blink Camera to Wifi? 14 Dec, 24
-
How To Reset Danfoss Thermostat? 13 Dec, 24
Top Searches in smart devices