How to Reset Honeywell Thermostat WiFi?
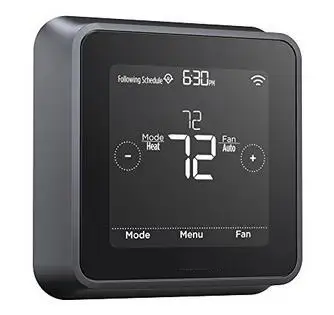
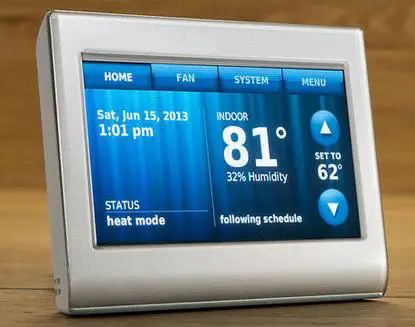
Here we cover how to change wireless networks on Honeywell wifi thermostat RTH8580WF model. In this case, you may need to change this Honeywell smart thermostat to a different wireless network than one setup on it at installation which will help you a lot regarding how to reset thermostat wifi.
Until you change the name of your home Wi-Fi network. Else a person has to connect their thermostat to a different access point.
During initial setup, this wifi Honeywell thermostat actually becomes a wireless access point. There is a website for thermostat wifi setup.
This allows you to connect with and administer the t-start with a laptop, tablet and a smartphone which is well (equipped with wifi option). Thus, Ethernet-based devices do not work in the case of this setup. In this case, you have to use some sort of wifi-capable computer devices.
Reset Honeywell Thermostat WiFi -
Step 1: Make sure your Honeywell thermostat device is on.
Step 2: Press and hold the Menu button of Honeywell thermostat for 5 seconds.
Step 3: Scroll to left until you see “Reset” (Click Select).
Step 4: Click SELECT on Factory.
Step 5: You will see a prompt “Are you sure?”
Step 6: Choose “YES”.
Step 7: Congratulations, your Honeywell thermostat device is successfully reset.

Enter into the Mode of WiFi Setup on Honeywell Thermostat:
A user has to switch to a Wifi setup by changing operating parameter 900 from a 1 to a 0. This will lead to a force to disconnect from the current Wi-fi network. It also starts a Wifi setup. You have to press and hold the blank square changes to the following.
At Least keep on pressing it for 5 seconds. Then you have to press the center up and down arrow keys, to advance through the parameters list. In the end, you have to stop when you find code 900.
Now You have to Clear Out WiFi Network Data on the Honeywell thermostat:
With the use of value Up/down arrow keys (far right above), change the value of parameter 900 from 1 to 0. This forces WiFi disconnection. The next step is to press the ‘Done Button’ in the lower-left corner of the screen. The current WiFi connection will be deactivated and this only applies to the new settings.

The next step is to press the Done Button which is in the lower-left corner of the screen. This applies the new settings and deactivates the current Wi-Fi connection. Across the top of the screen, you will see a status message showing Wi-Fi is Disconnected.
The above message will be displayed just for several seconds which is after this the thermostat enters Wi-Fi setup mode. Now, you have to proceed to the next step.
Find the Honeywell Thermostat WiFi Network on Your Mobile Device:
An own little wireless network is created by the RTH850WF in Wi-Fi setup mode. This step will help you to connect your tablet or other wifi computer device to this network. In this step, you will connect your tablet or other wifi computer device to this network.
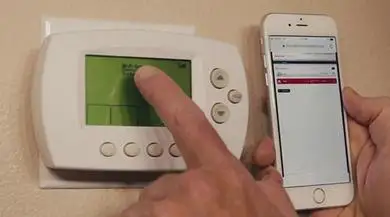
Once there, the system guides you through choosing the desired new WiFi network. Use an iPad Air tablet to connect, by going to the settings WiFi. The screen which we saw on the tablet is as follows:
In the mode of WiFi setup, the RTH8580WF creates its own little wireless network. In this step, you will connect your tablet or other wifi computer device with this network. Once there, then the system guides you through choosing the desired new Wifi network.
Many Users Use an iPad Air Tablet to Connect, by Going to the Settings i.e. “WiFi Screen” is as follows:
Do the Connection to the Honeywell Thermostat Wifi Network:

At the next level using the procedure which is supported by your computer, tablet, phone to connect with this network. In this case, the Wi-Fi network is called New Thermostat 2772279.
This is an open wireless network, so there is no need for a password to connect with it. You don’t need to bother about the security issue because this ad hoc network goes away once you finish the Wi-Fi Setup.
After you connect, your device will display the following network selection page after a few seconds. Now, this is the list of in-range WiFi connections that your thermostat sees, as shown next.
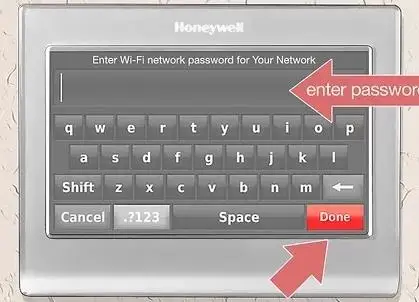
Enter the Password of New Network WiFi:
Now The next step is to enter the correct network password, the RTH8580WF turns off its own WiFi network (the “New Thermostat 277279” network). Now it will be connected to the Wi-Fi which you have picked.

The network selection window on your tablet/computer then disappears within a couple of seconds. When it’s completed, a touch screen will display a “connecting, message as follows:
Only thirty seconds will be taken for the new link to form, so be patient.
Wrap up of a WiFi Setup Mode on Honeywell Thermostat:
Step 1: It’s very obvious that just after one to three minutes, and if we see a notification: no errors connecting, then the RTH8580WF exits setup mode of Wi-Fi. Now it will return to the normal operation mode.
Step 2: After this, the text will disappear from the blue-encircled space. Now, the Wifi signal strength meter appears. In case if you will get to see this, then you have done the whole process right like it has to be done.
Now the Honeywell thermostat is talking through the internet with the Honeywell Total Connect Comfort servers.
Step 3: Now, you have successfully updated the Honeywell thermostat Network settings.
Now, you have to assume that your thermostat has been installed and is up or running. It is connected to a certain WiFi network. A user has to do, is to change the wireless network-related settings.
This wifi thermostat, during the initial setup, actually becomes a wireless access point. The benefit of its own website is to connect with and administer the t-start with a laptop, tablet, or smartphone.
Checkout This Blogs
How To Unlock The Honeywell T6 Pro Thermostat?
How Do I Set My Honeywell Thermostat Temperature?
How To Fix Honeywell Thermostat Blank Screen?
How To Wire A Honeywell Thermostat?
How To Reset Honeywell Thermostat WiFi?
 Published by: Jorg
 Brand: Honeywell Doorbell
 Last Update: 2 weeks ago
 Related Blogs
How to Install Honeywell Wireless Alarm?
How to Set Honeywell Thermostat Temperature?
Why is my Honeywell Thermostat Show up as Offline?
How to Reset Honeywell Thermostat WiFi?
Why is My Honeywell Thermostat not Working?

Trending Searches
-
How To Setup WiFi On Samsung Refrigerators? 31 Oct, 25
-
How to Fix Hikvision Error Code 153? - 2026 01 Oct, 25
-
Fix Shark Robot Vacuum Error 9 Easily (How) 26 Nov, 25
-
How to Set up Arlo Camera? 08 Jun, 25
-
How to Watch StreamEast on FireStick? 12 Nov, 25

Recent Post
-
How to Install Kodi on Amazon Fire Stick? 08 Dec, 25
-
How to Connect Govee Lights to Alexa? 08 Dec, 25
-
How to Connect Kasa Camera to WiFi? 07 Dec, 25
-
How to Fix Eero Blinking White Problem? 07 Dec, 25
-
How to Reset Eero? 07 Dec, 25
-
Why is My ADT Camera Not Working? 06 Dec, 25
-
Merkury Camera Wont Reset? Fix it 06 Dec, 25
-
How to Connect Blink Camera to Wifi? 06 Dec, 25
Top Searches in honeywell doorbell