How to Set up Reolink WiFi Cameras without LAN Port via Reolink Client?
I don't know how to install those Reolink WiFi cameras without a LAN port. Not to worry. This article can walk you through the initial set up Reolink wifi cameras without LAN port via Reolink client.
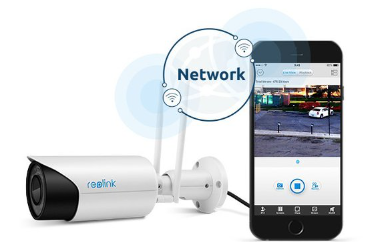
Set Up Reolink WiFi Cameras Without LAN Port via Reolink Client
Step 1. To enter the UID of your camera, hit the "+" icon, select UID, and afterwards click Add.
See How to Find the UID of Your Device for information on locating the UID.
Step 2. Click Confirm after selecting Wi-Fi Not Configured. After that, you will hear a voice prompt asking you to "run the app, add the camera, as well as set it up" or even a repetitive ding. Choose appropriately and press Next.
Step 3. To configure WiFi for this camera, enter the SSID and password, then select Next.
To verify that the WiFi password is accurate, click the eye icon.
Step 4. Scan the QR code by positioning the camera lens directly in front of it on the computer display at a distance of around 20 cm (8 inches). Tap Next when you hear a beep.
Step 5. Wait for the camera to link to the router for about 60 seconds. When you hear the voice prompt "Connection to the router succeeded," choose appropriately and press Next.
Step 6. Your camera's password should be created. Choose Next.
Step 7. Identify the camera. Next, select Finish.
Your camera is now fully initialized. Get a live view right away.
 Published by: Blaze
- Brand: Smart Devices
- Last Update: 2 months ago
 Related Blogs
How to Use Google Lens on iPhone?
Top 7 Best Smart Home Security Systems of 2025
How to Connect Philips Hue Devices?